I hate razors, shaving, and the general process of hair removal. Though it’s a necessary evil, I always find myself searching for products to make the process easier. One of the methods I had never tried was
waxing, other than the occasional brow touch-up. Thanks to Veet, I finally got to try an at-home waxing kit. Read on for all my tips and tricks!
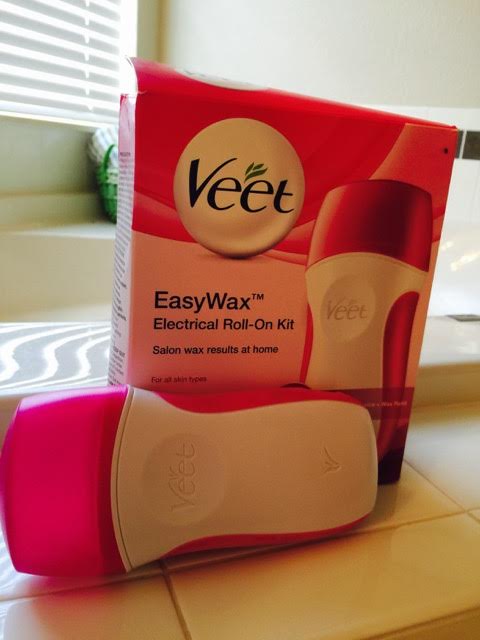
Veet sent me their
EasyWax Electrical Roll-On Kit to test out for other home waxing newbies. The process was a breeze, and the product easy to use. I must admit, I was a little nervous to try the kit. So I decided to start off easy and tackle my legs for this experiment. I set up the wax, read the instructions, and got to work.
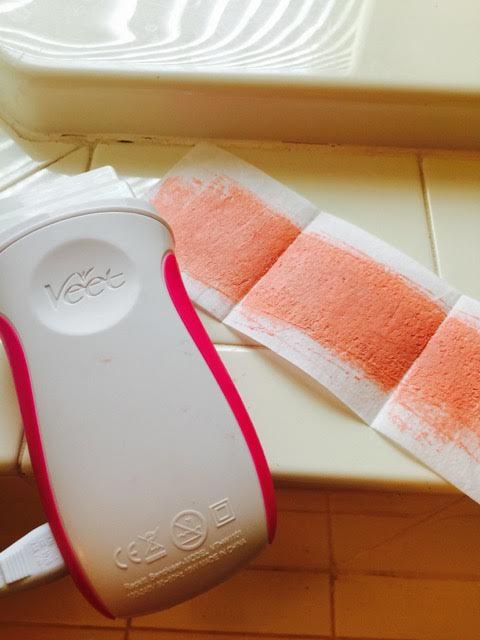
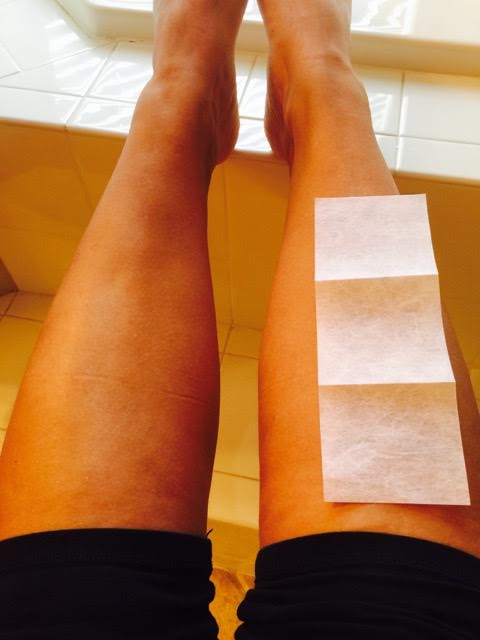
The wax took 20 minutes to heat up, which is the perfect amount of time to accomplish some other tasks. I threw on a face mask, poured a glass of wine, and picked out my outfits for the next day while the wax heated up. Once it was ready, I rolled on a layer in the direction that the hair grows in, pressed a paper strip over the wax, and pulled. I expected it to sting, but it really wasn’t painful at all. I think it hurts more to do your eyebrows, as that skin is thinner and more sensitive. The faster you pull the strip off, the more hair it will remove.
I went for the next part of my leg, repeating the same process, and pulled again. The strips adhered to the wax well, and grabbed every last hair on the strip. There were some bits of warm wax left on my leg, so I reused the strip to remove any pieces left behind. I completed one leg with one strip, and started a new one for my other leg.
Make sure to let your hair grow out before waxing. It’s easier for the wax to hold onto, and it ensures clean removal. I skipped shaving for a couple of days leading up to my hot wax date. I think this helped minimize pain since the wax grabbed hold of the hair and not my skin.
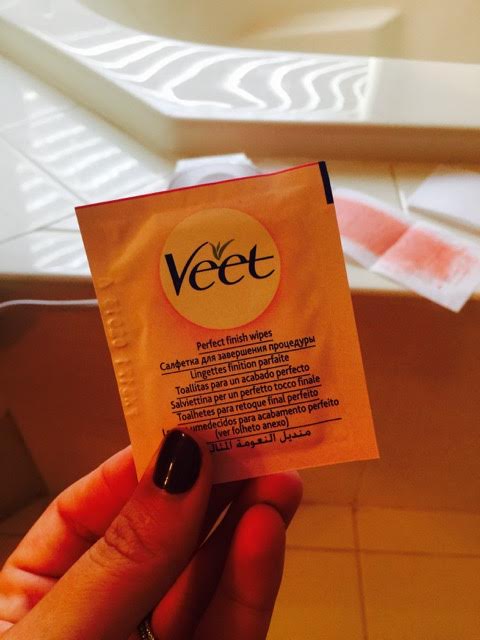
I continued this process until each leg was smooth and clean. I finished up by rubbing the Perfect Finish Wipe onto each leg, which helped remove any leftover wax and moisturize my legs. These wipes made my legs feel so silky smooth!

Overall, the process took me about 30 minutes. It was quick, painless, and easy. A few days later, my legs are still smooth and hair free. I started with my legs because I was most comfortable testing that out first, but you can use this device for your underarms and bikini area as well. The Veet EasyWax Roll-On kit is the perfect set for beginners. The instructions are easy to follow, and the roll on applicator is super easy to use. This kit earned a spot in my skincare regime, and will be my go-to for hair removal!
Jackie Gill | Beauty Bartender
Jackie is an aspiring blogger living in the sunshine state. In addition to a career in the health and fitness industry, she has started a lifestyle blog, Fresh Fit Florida, to help inspire others to live a healthy lifestyle. When she’s not logging lots of miles training for her first full marathon, you can find Jackie enjoying the beautiful Florida weather, shopping for new beauty products, and spending time with her husband and puppy, Macy.


